Minesweeper patterns: read what the clues share.
A number counts mines in its neighboring squares. Compare overlapping clues before guessing; a flag is your own note, not proof. In this edition, the first reveal and its neighboring squares are safe.
What a number actually counts
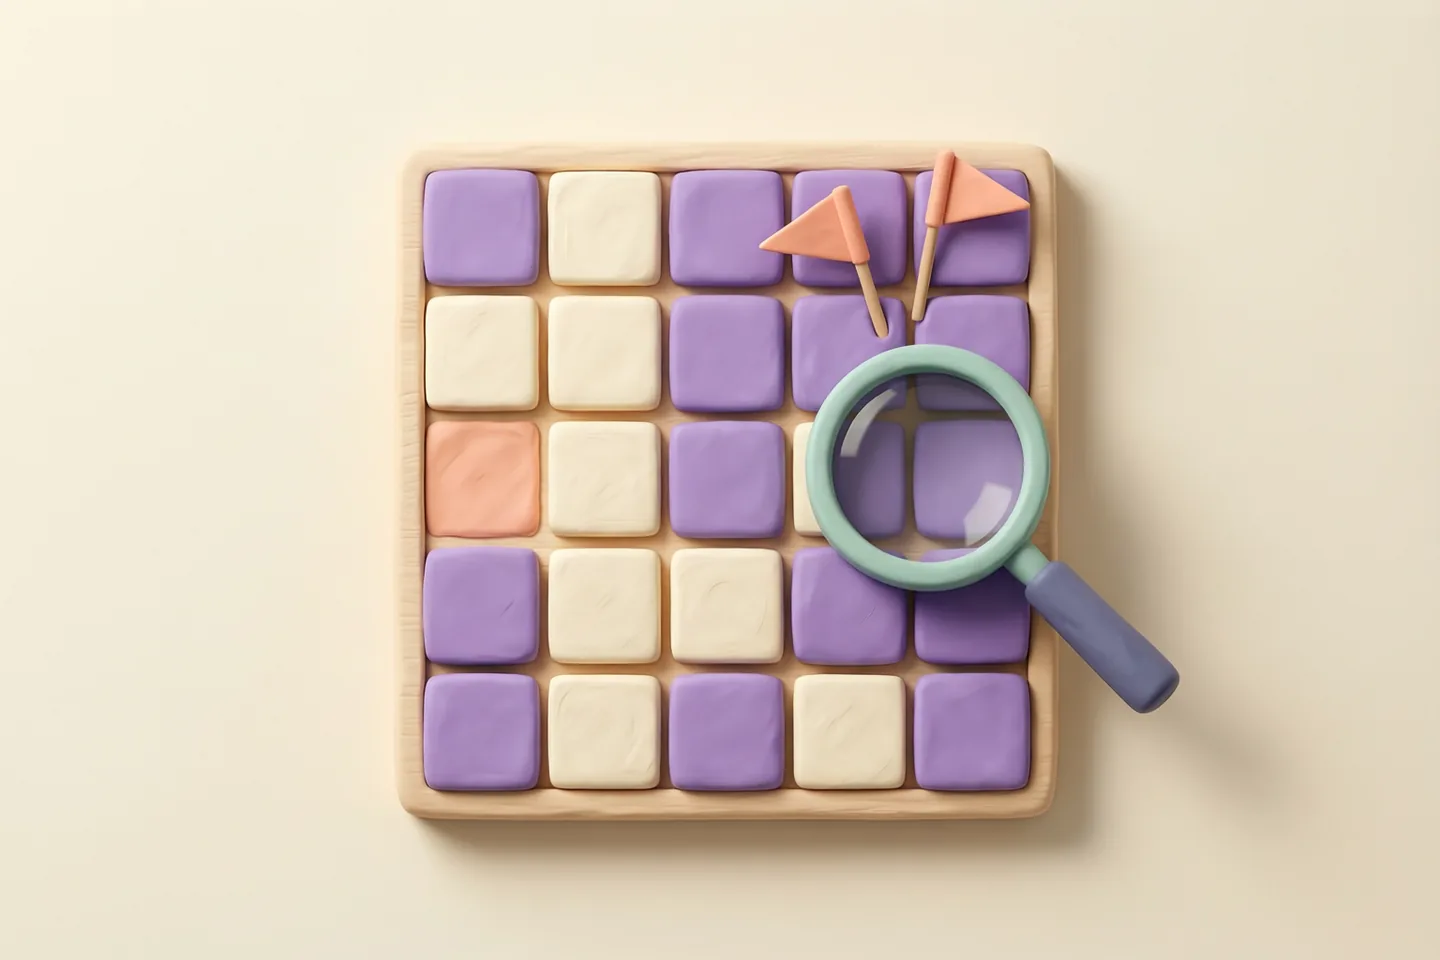
A revealed Minesweeper number counts the mines in the squares touching it, including the diagonals. It says nothing about the rest of the row.
Count the neighbours of that square
A square in the middle of the board has eight neighbours. On an edge it has at most five, and at a corner only three. Always work with the local group.
Subtract the flags already placed
If a 3 already touches two flags, one mine remains among its covered neighbours. That remaining count is what makes two clues comparable.
Edges and corners have fewer neighbours
A clue on an edge touches at most five squares and a corner clue touches three. That smaller pool often makes an edge clue the easiest place to start a deduction.
The two basic deductions
Two deductions solve most of a board: every covered neighbour is a mine, or every covered neighbour is safe.
| What you see | What it means | What to do |
|---|---|---|
| A 1 with one covered neighbour | That neighbour holds the mine | Flag it |
| A 1 already touching one correct flag | Its other covered neighbours are clear | Open them |
Work the frontier clue by clue
Apply both checks to every clue touching an unopened square before you look for anything cleverer. Most boards give way to these two rules alone.
Both statements depend on the flags being correct. A mistaken flag can make a later deduction look valid when it is not.
Compare overlapping clues
If two clues need the same remaining mine count and one covers all the other’s unknown neighbors, the extra squares in the larger group are safe.
| Remaining clue | Unknown squares it touches | Required mines |
|---|---|---|
| First clue | A and B | 1 |
| Second clue | A, B and C | 1 |
A and B already contain the one mine required by both clues, so C is safe. This example assumes these are all the remaining unknown neighbors and any known mines have been correctly accounted for. It does not determine whether A or B contains the mine.
Do not promise certainty where none exists
Some Minesweeper layouts leave more than one mine arrangement that fits the visible numbers, and no pattern makes those certain.
Tell a guess from a deduction
If two arrangements both satisfy every clue, neither square is proved. Opening one is a guess, however reasonable it feels.
Check elsewhere before you risk it
Look for a deduction on another part of the frontier first, and count whether the known flags account for each clue.
Flags are notes, mines are facts
Placing a flag does not make a square dangerous, and clearing every safe square is what wins the game. Recount a clue whenever its neighbours stop agreeing.
The safe first click in our version does not promise that every later position can be solved without guessing.
Touch controls
Tap a square to reveal it. Enable Flag mode before tapping a suspected mine on a phone, then switch back to Reveal mode to open safe squares. On desktop, right-click marks a flag. Clear every safe square to win; placing flags alone does not complete the game.
Locate the shared unknown squares
In this neighborhood at the left edge, A, B and C are covered squares. S means a square already established safe; its other clues are not used here. The two displayed 1s have no neighboring mines already accounted for.
| Row | A | B | C |
|---|---|---|---|
| 1 | A | B | C |
| 2 | 1 | 1 | S |
| 3 | S | S | S |
The 1 in A2 touches unknowns A and B. The 1 in B2 touches A, B and C. Both need exactly one mine. Since A and B already contain that mine, C cannot contain another. Either A or B can hold it; these two clues alone do not decide which. Other cells around the shown patch must be known safe for this argument to apply.
Check the squares behind each clue
Open Minesweeper for a playable example from this collection, then continue with the Snake strategy guide. Browse the puzzle games collection as more games are added to the public library.
Questions about minesweeper patterns
What should I do when no square is provably safe?
Pick the square that gives you the most information, usually one on the edge of the revealed area near several clues. Some layouts genuinely leave more than one arrangement that fits the numbers, and no pattern makes those certain. Take the guess deliberately rather than opening a square at random.
How do I recover from a flag placed in the wrong square?
Remove it as soon as you doubt it, then recheck every clue that touches it. A wrong flag makes later deductions look valid when they are not, so the damage spreads outward from it. If several clues were already resolved using that flag, the safest move is a fresh board.
Are the edges and corners easier than the middle?
Yes, because they have fewer neighbours. A corner square touches three covered squares instead of eight, so a clue there constrains a much smaller group. That is why the frontier along an edge often resolves while the middle of the board is still ambiguous.
Should I play quickly or carefully to improve?
Carefully first. Speed on this board comes from recognising the two basic deductions instantly, and you only build that by working them out slowly a few hundred times. The board here is nine by nine with ten mines, so there are seventy-one safe squares to find and no clock forcing you.
These tips refer to the editions in our library. Game controls and behavior can differ elsewhere. Spotted a problem?